
Step 1: Go to the downloads directory of your system (default one) or to the location where you have saved the VM image.
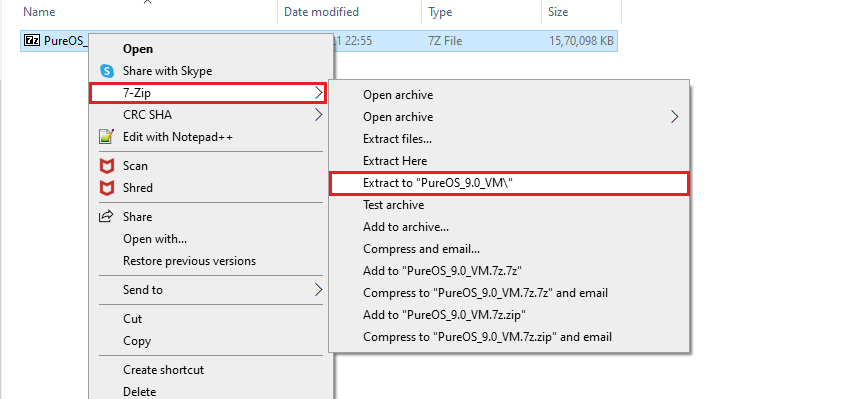
Step 2: Extract the compressed file using the 7-Zip.
Optionally, move the extracted folder to where you have your other VMs.
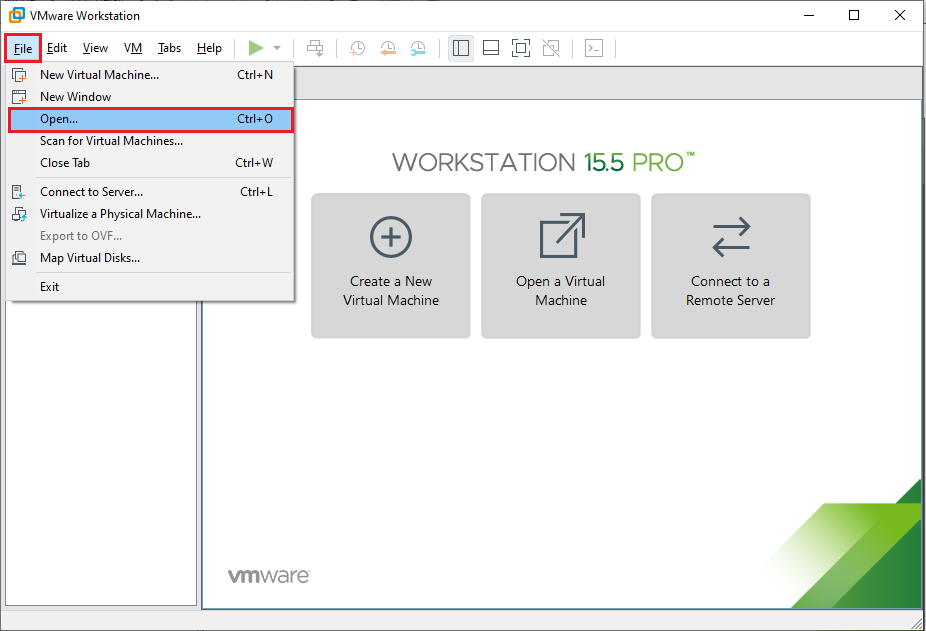
Step 3: Open VMware Workstation and go to File » Open.
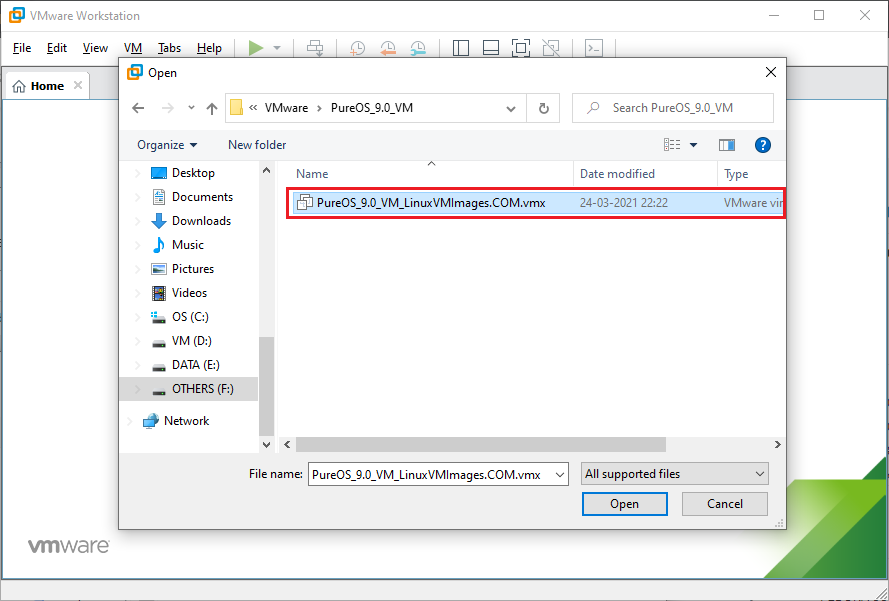
Step 4: Browse to the location where you have extracted the VM image. Select the image and then click on Open.
Step 5: In a second or two, you should see a new Virtual Machine in the VMware Workstation.
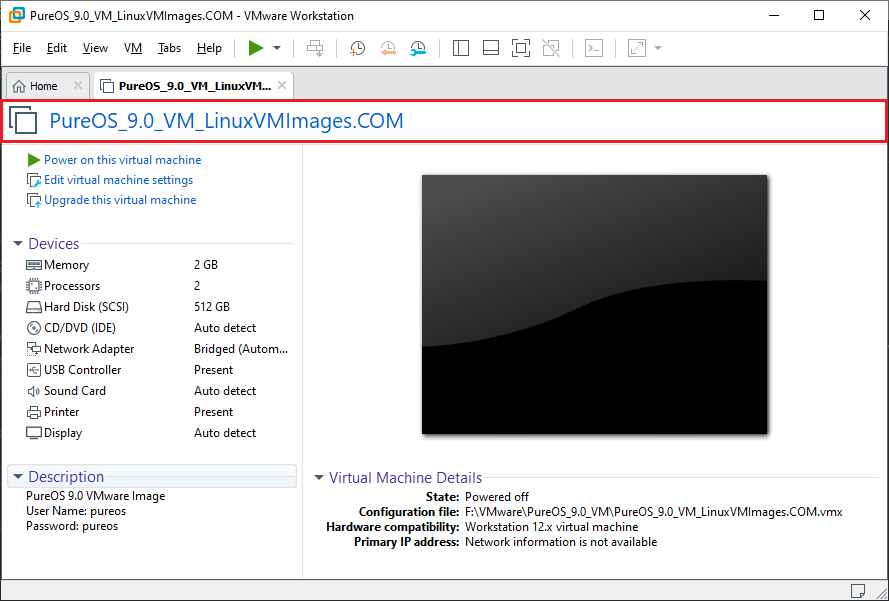
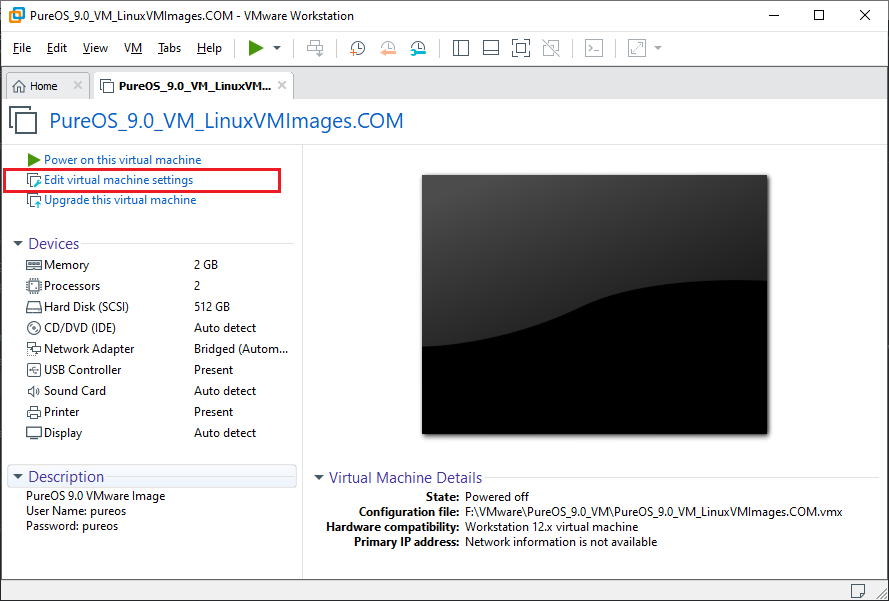
Step 6: If required, you can change the virtual machine’s resources like CPU, Memory, Network, and other settings by Edit virtual machine settings.
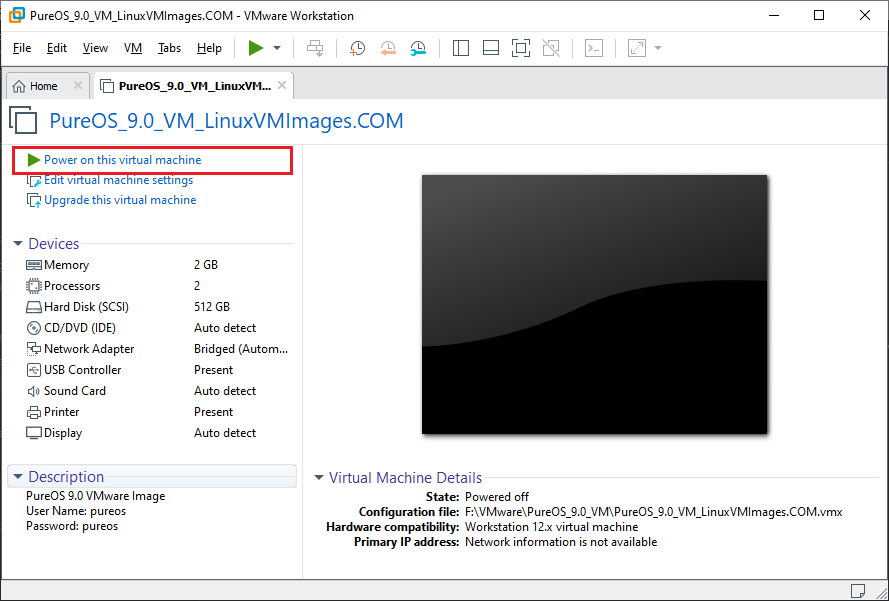
Step 7: You can now power on the virtual machine to start working on it.
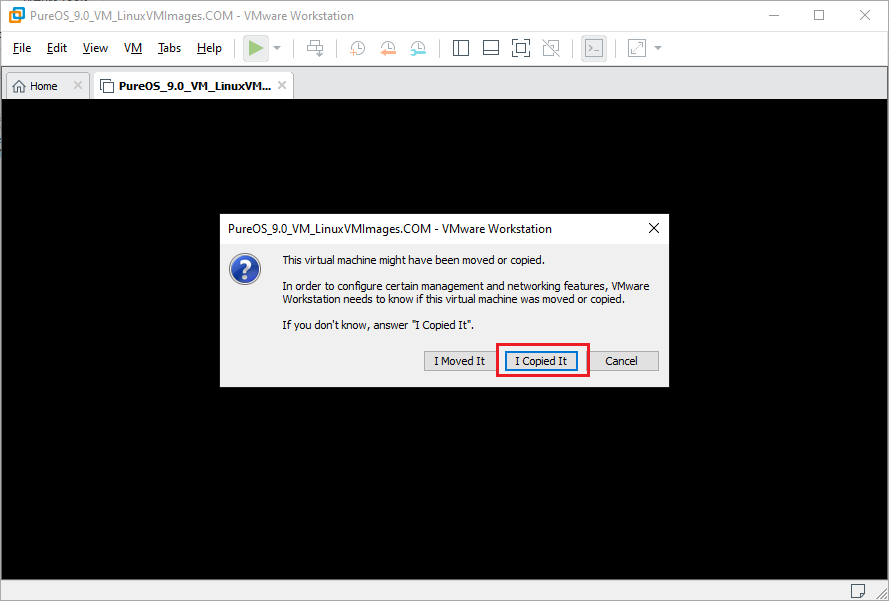
Step 8: Click on I Copied It.
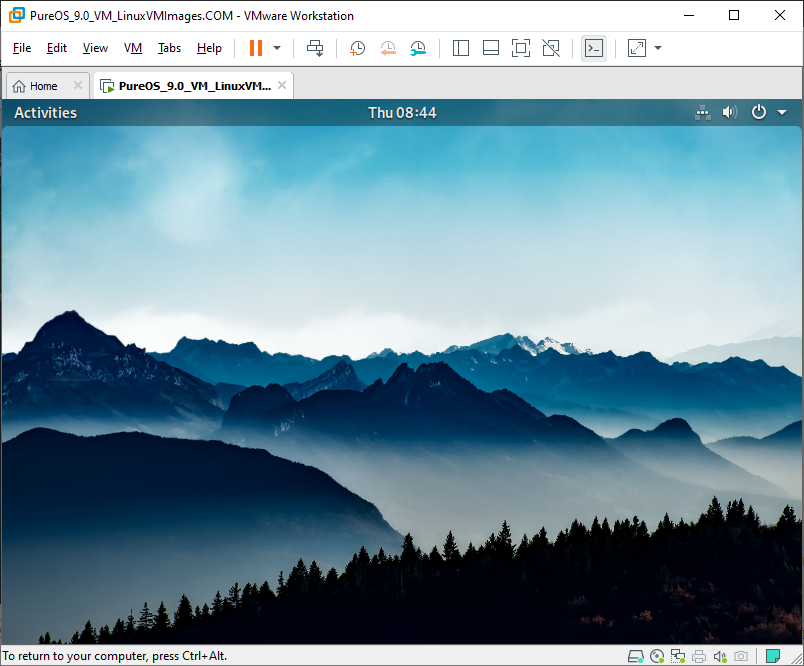
Virtual Machine Running On VMware Workstation:
Please share your feedback in the contact us / comments section.